Google Chrome Browser Extension
Last updated: June 2, 2026
Integrate your browser with Billables AI to capture time spent on research, web-based programs and more.
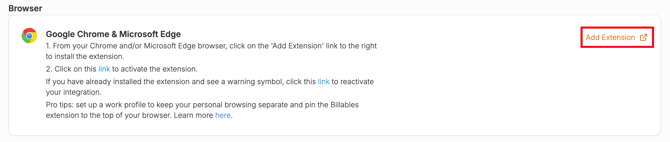
Step 1. Start by navigating to the Integrations page on Billables. Scroll down to the Chrome and Edge section. Click the link to add extension.
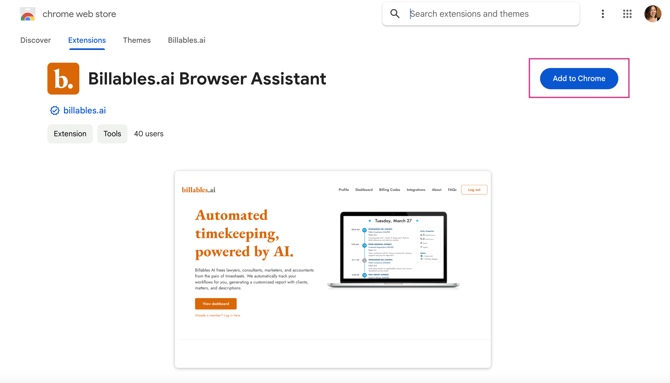
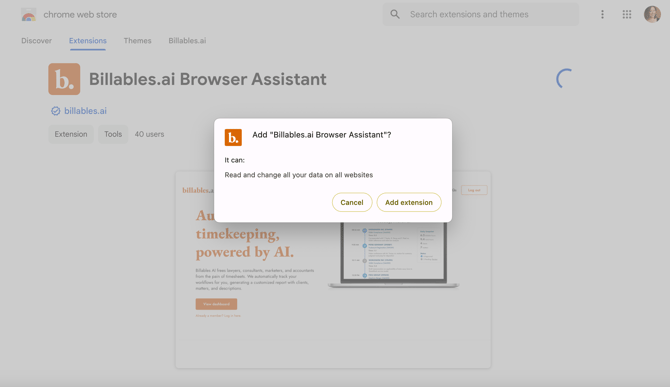
Step 2: Click Add to Chrome to add this extension. Then click Add Extension in the pop-up screen.
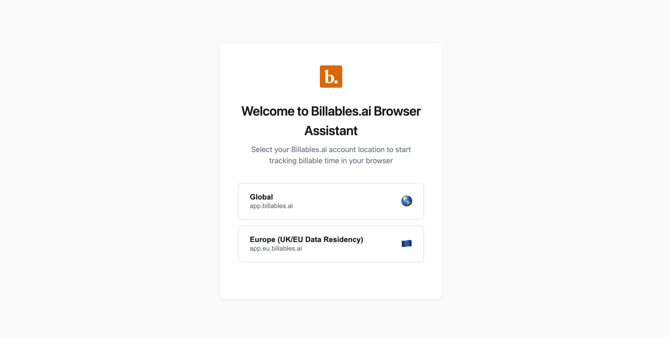
Step 3. The extension will open a tab prompting you to select the region for your Billables account. Choose "Global" if you sign into your dashboard at https://app.billables.ai and "Europe" if you use the https://app.eu.billables.ai site for EU data residency requirements. You will be redirected to the Billables site after selecting your region.
Step 4. The extension should now show up in your browser - you can click the puzzle icon to see the extension. Note: In some cases, there may be a warning symbol on your extension (as shown below). If you see this, please proceed to Step 5.
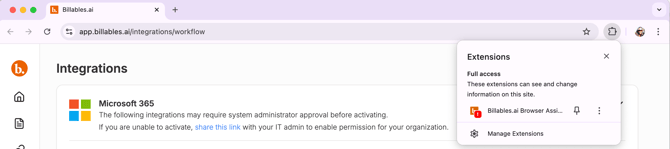
Step 5. If you see a warning symbol on the Billables extension, click on the link on the Integrations page:

Step 6: Click on the Extensions icon and pin the Billables browser to the top. Now you'll know that it's installed and working when you're using your browser.


Setting up separate Work and Personal profiles
With Edge profiles, you can set up and keep separate browser profiles for work and personal. Visit See instructions from Google here. or instructions on how to set up separate profiles. Note: make sure to install the Billables extension while using the profile you want to capture billable activity for.
FAQs
Will the Chrome extension work across multiple devices?
The Chrome extension will work on all computer (desktop, laptop) devices where you have logged in and synced your Chrome profile. See instructions from Google here.
Will the Chrome extension work for mobile?
Unfortunately, Chrome extensions do not work on mobile devices.